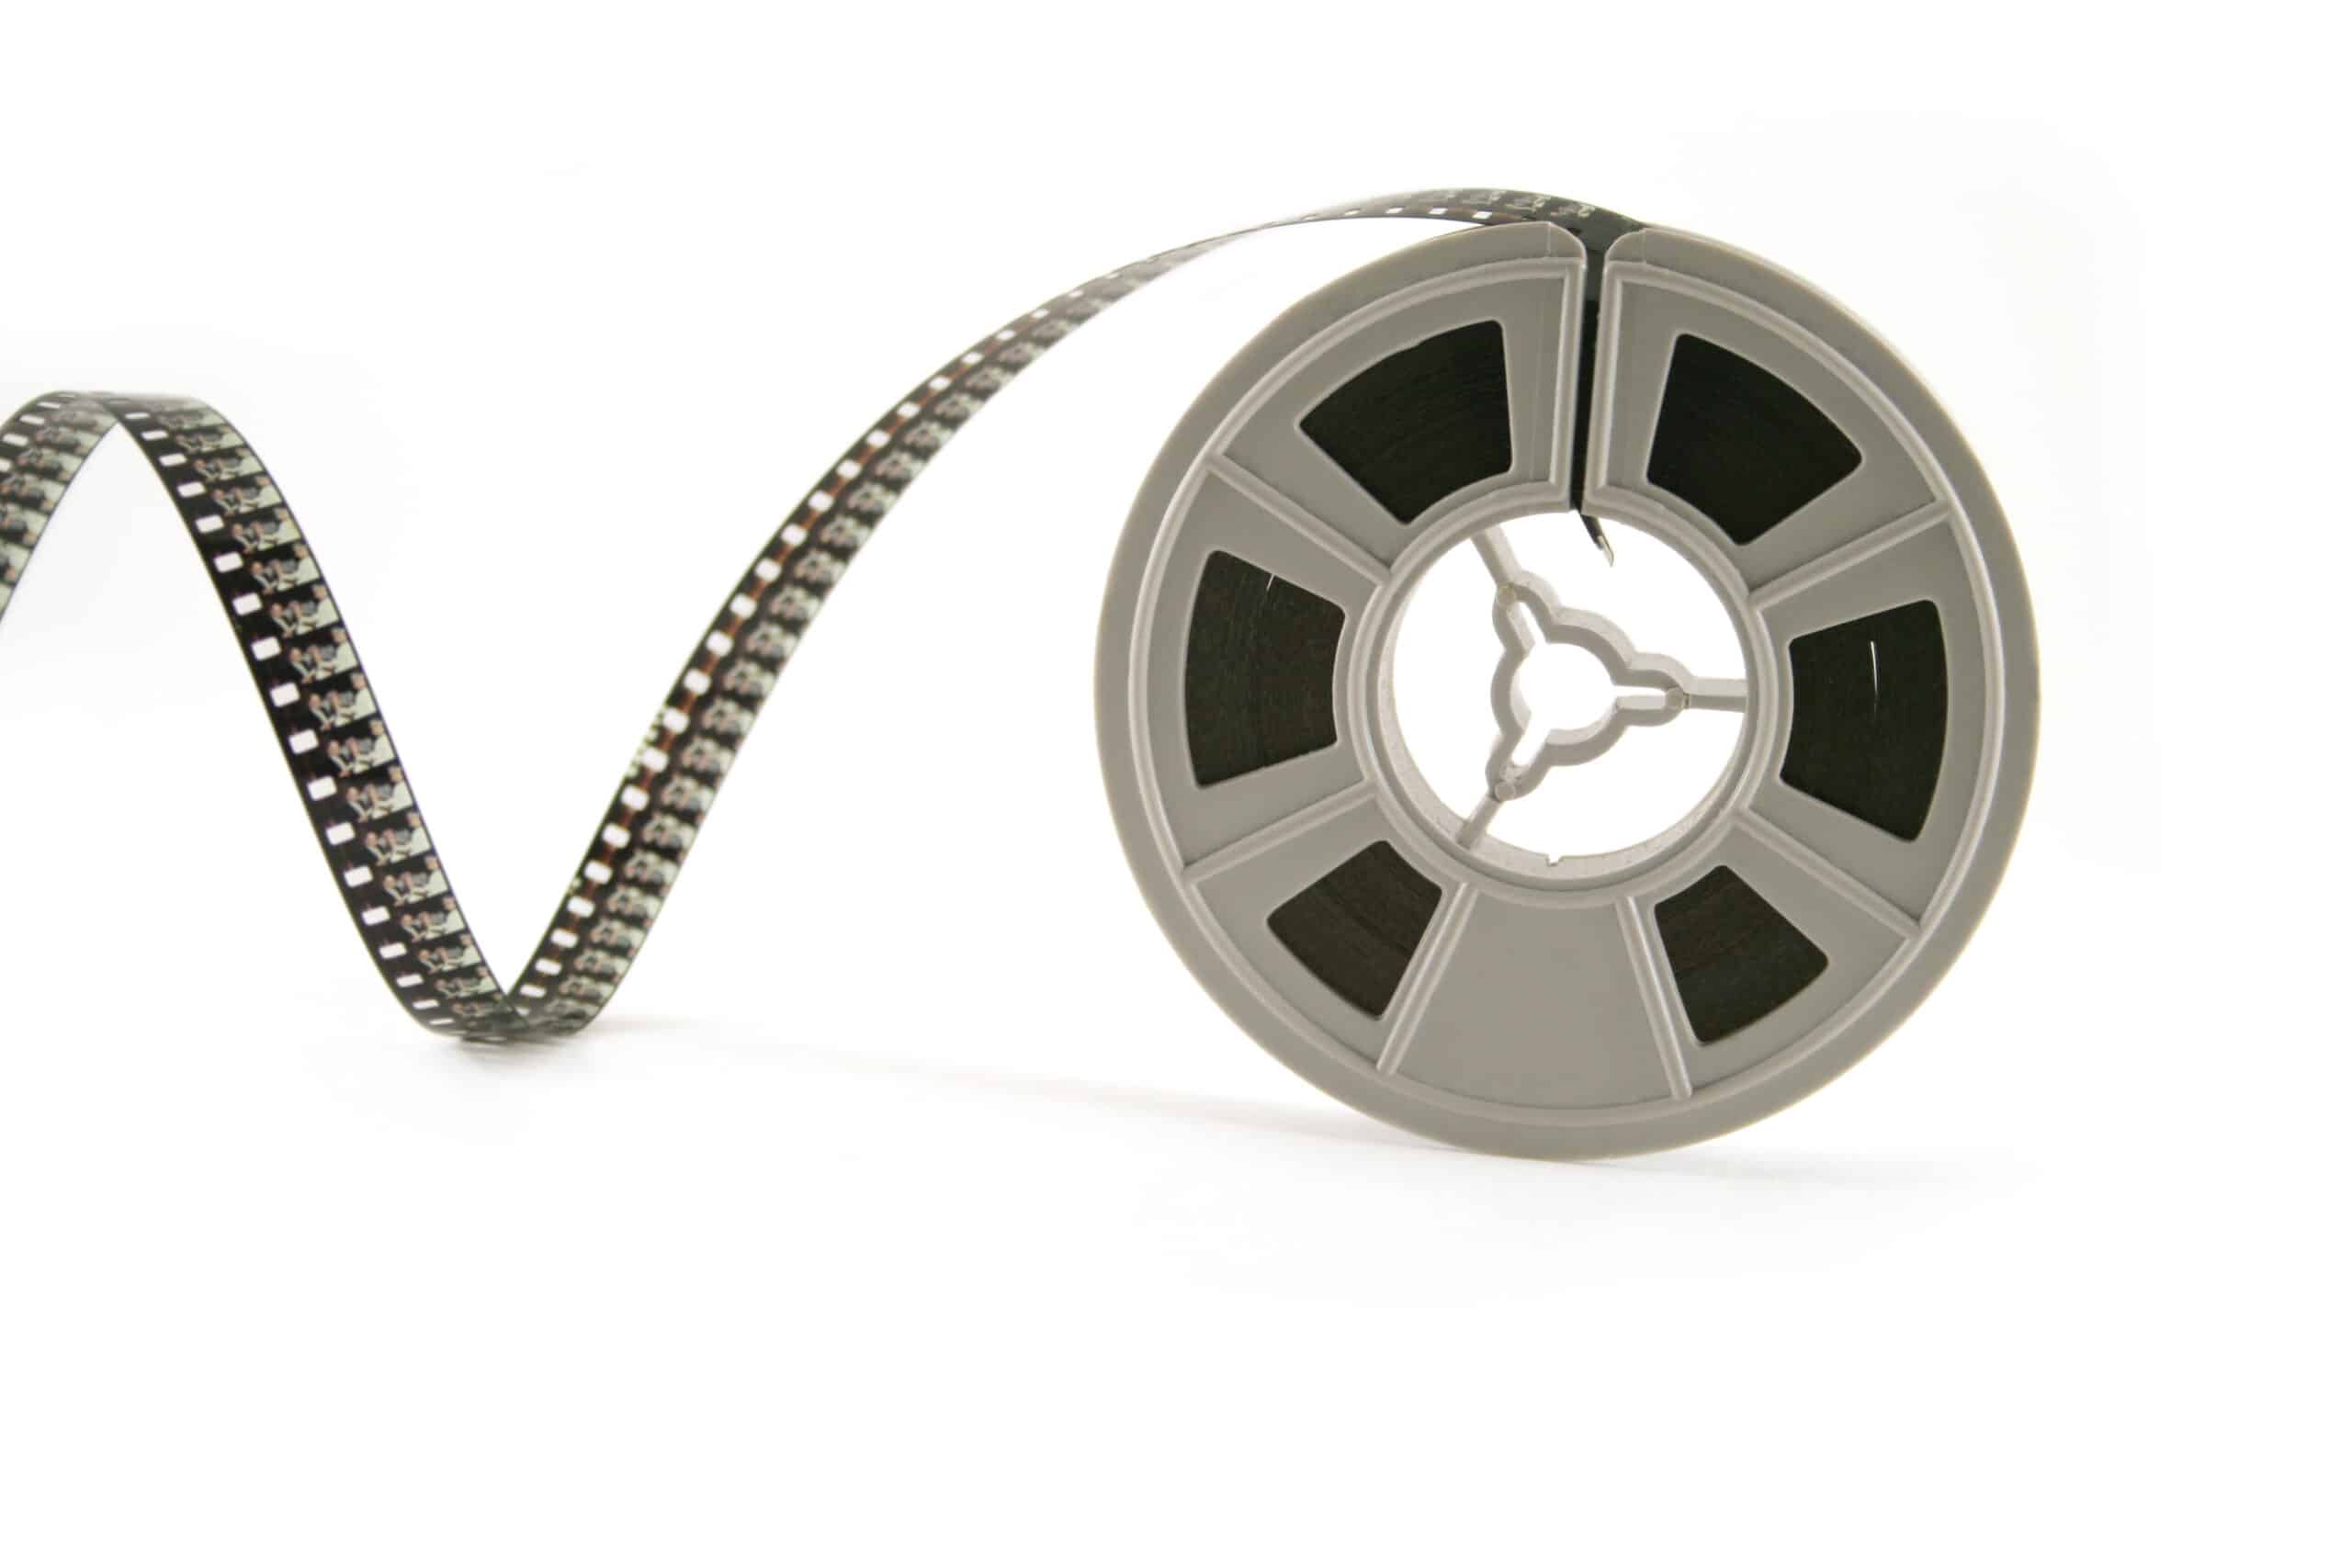
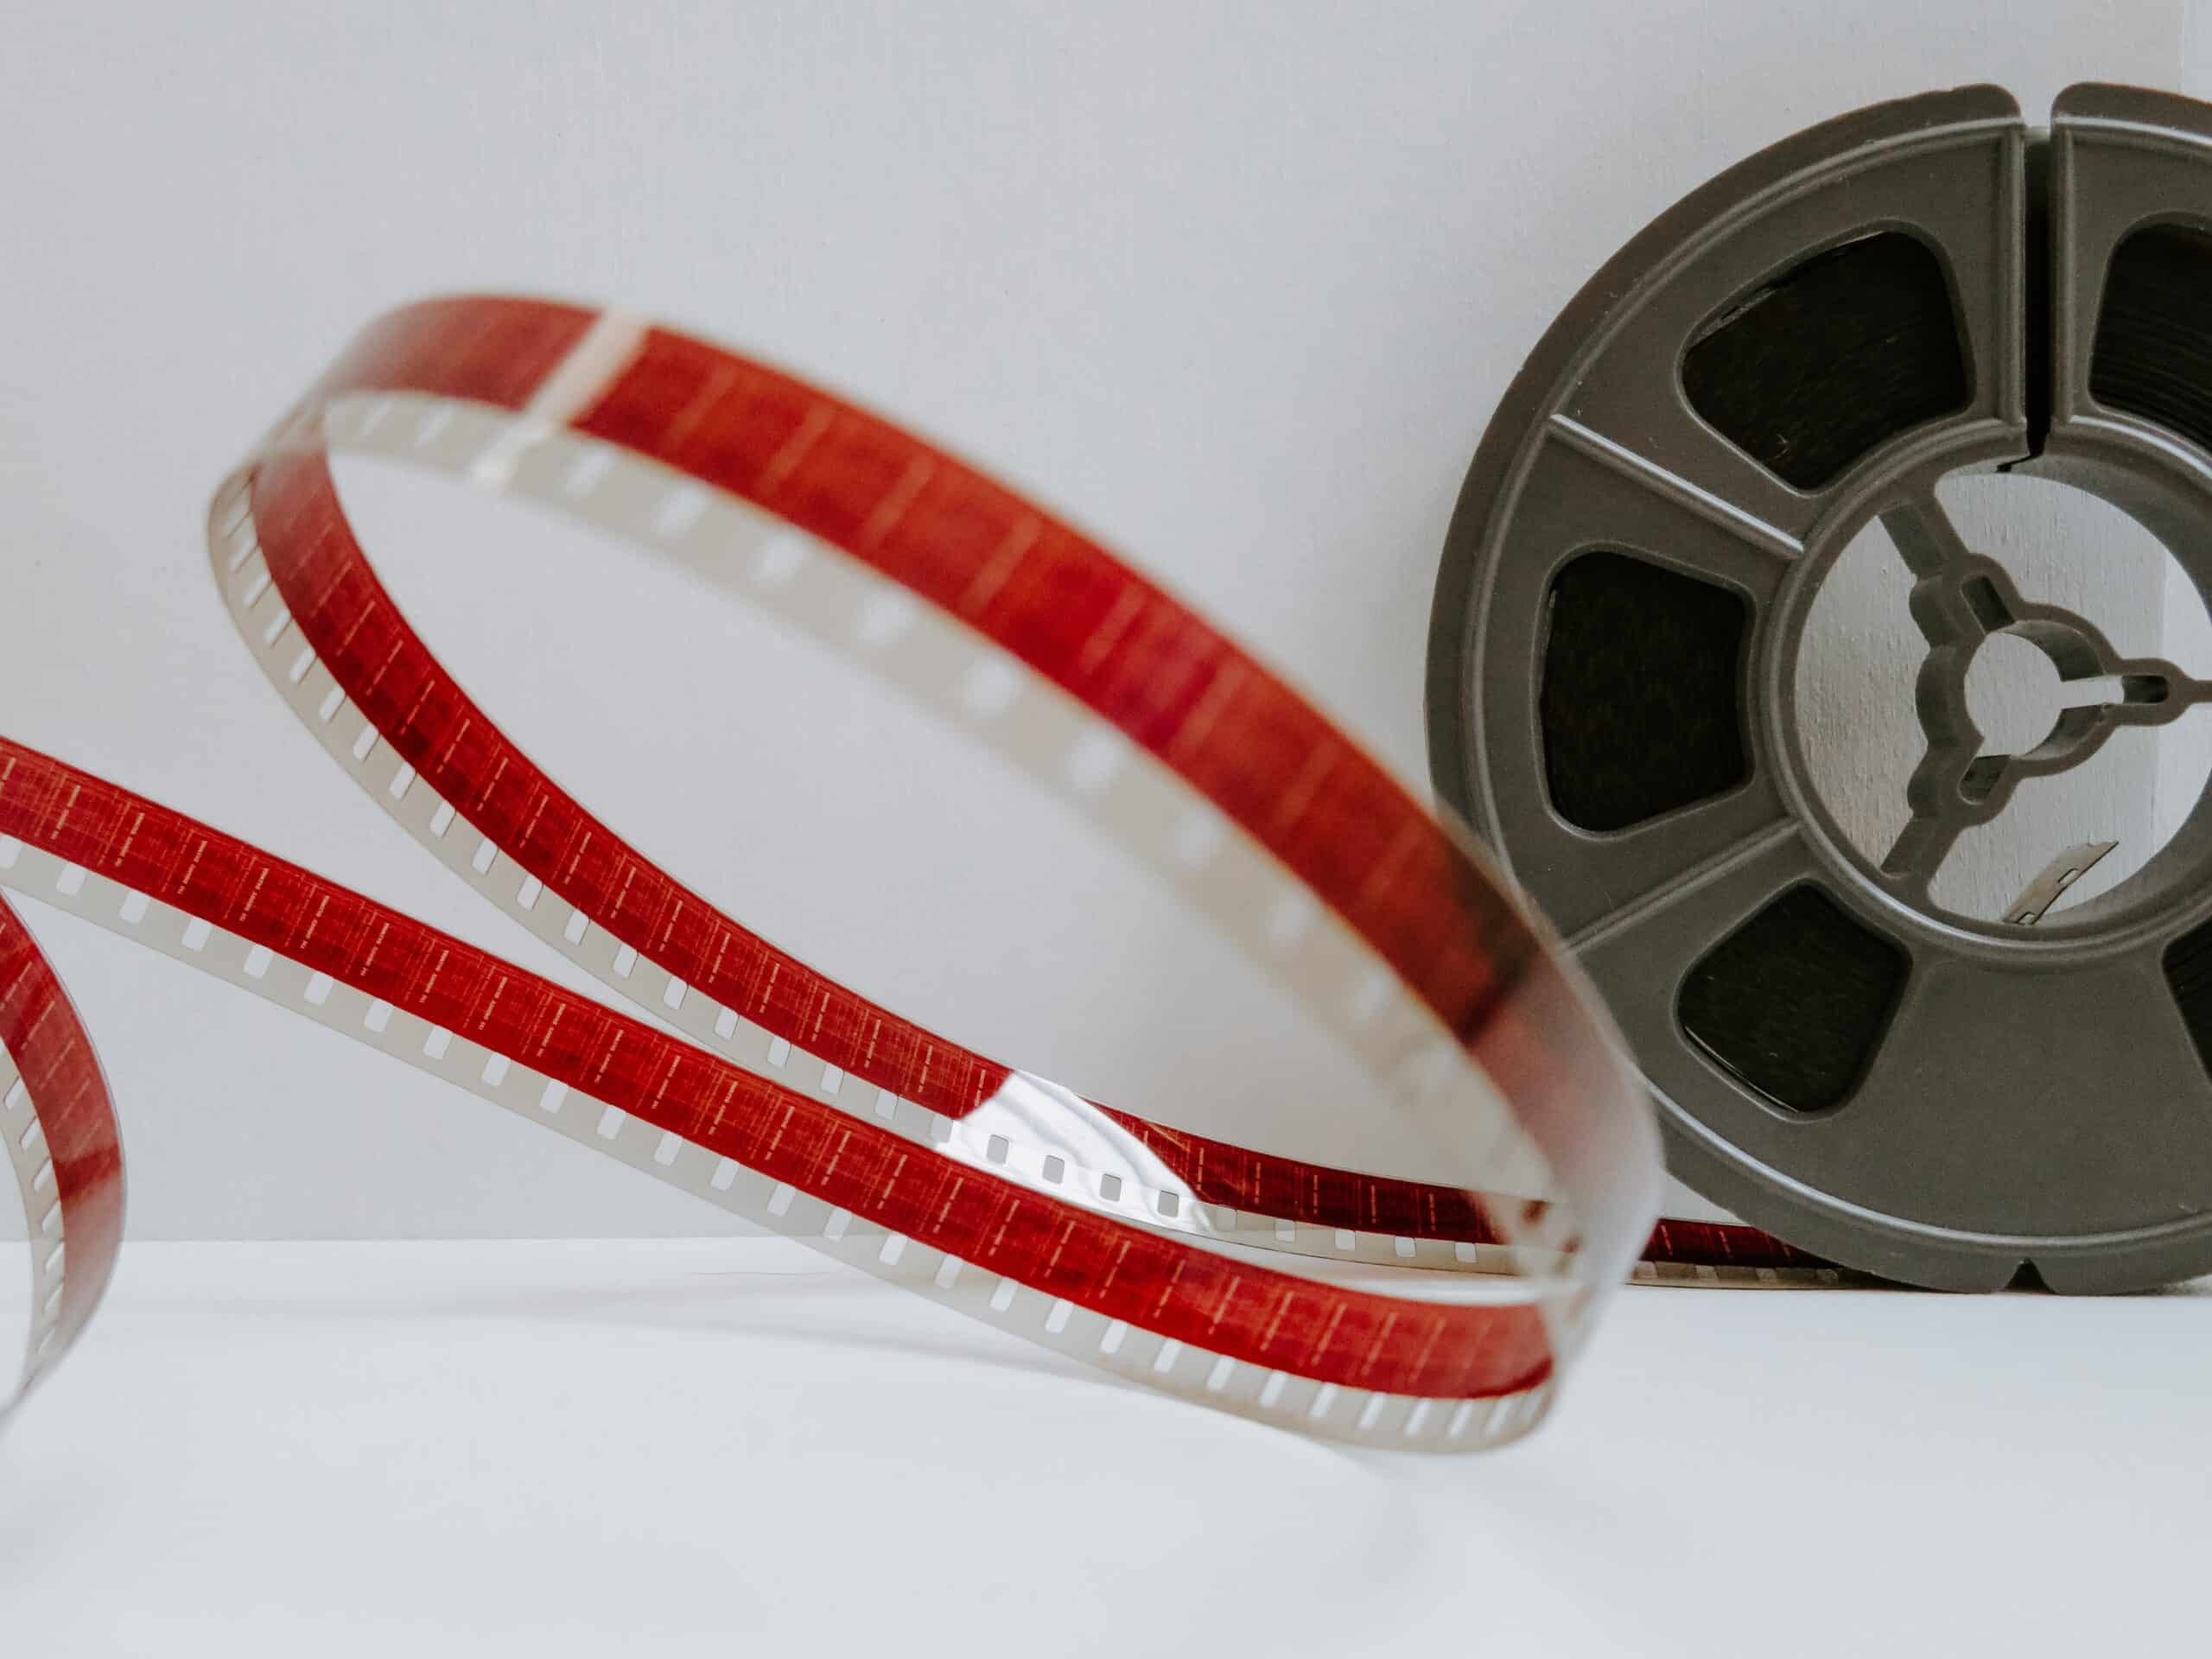
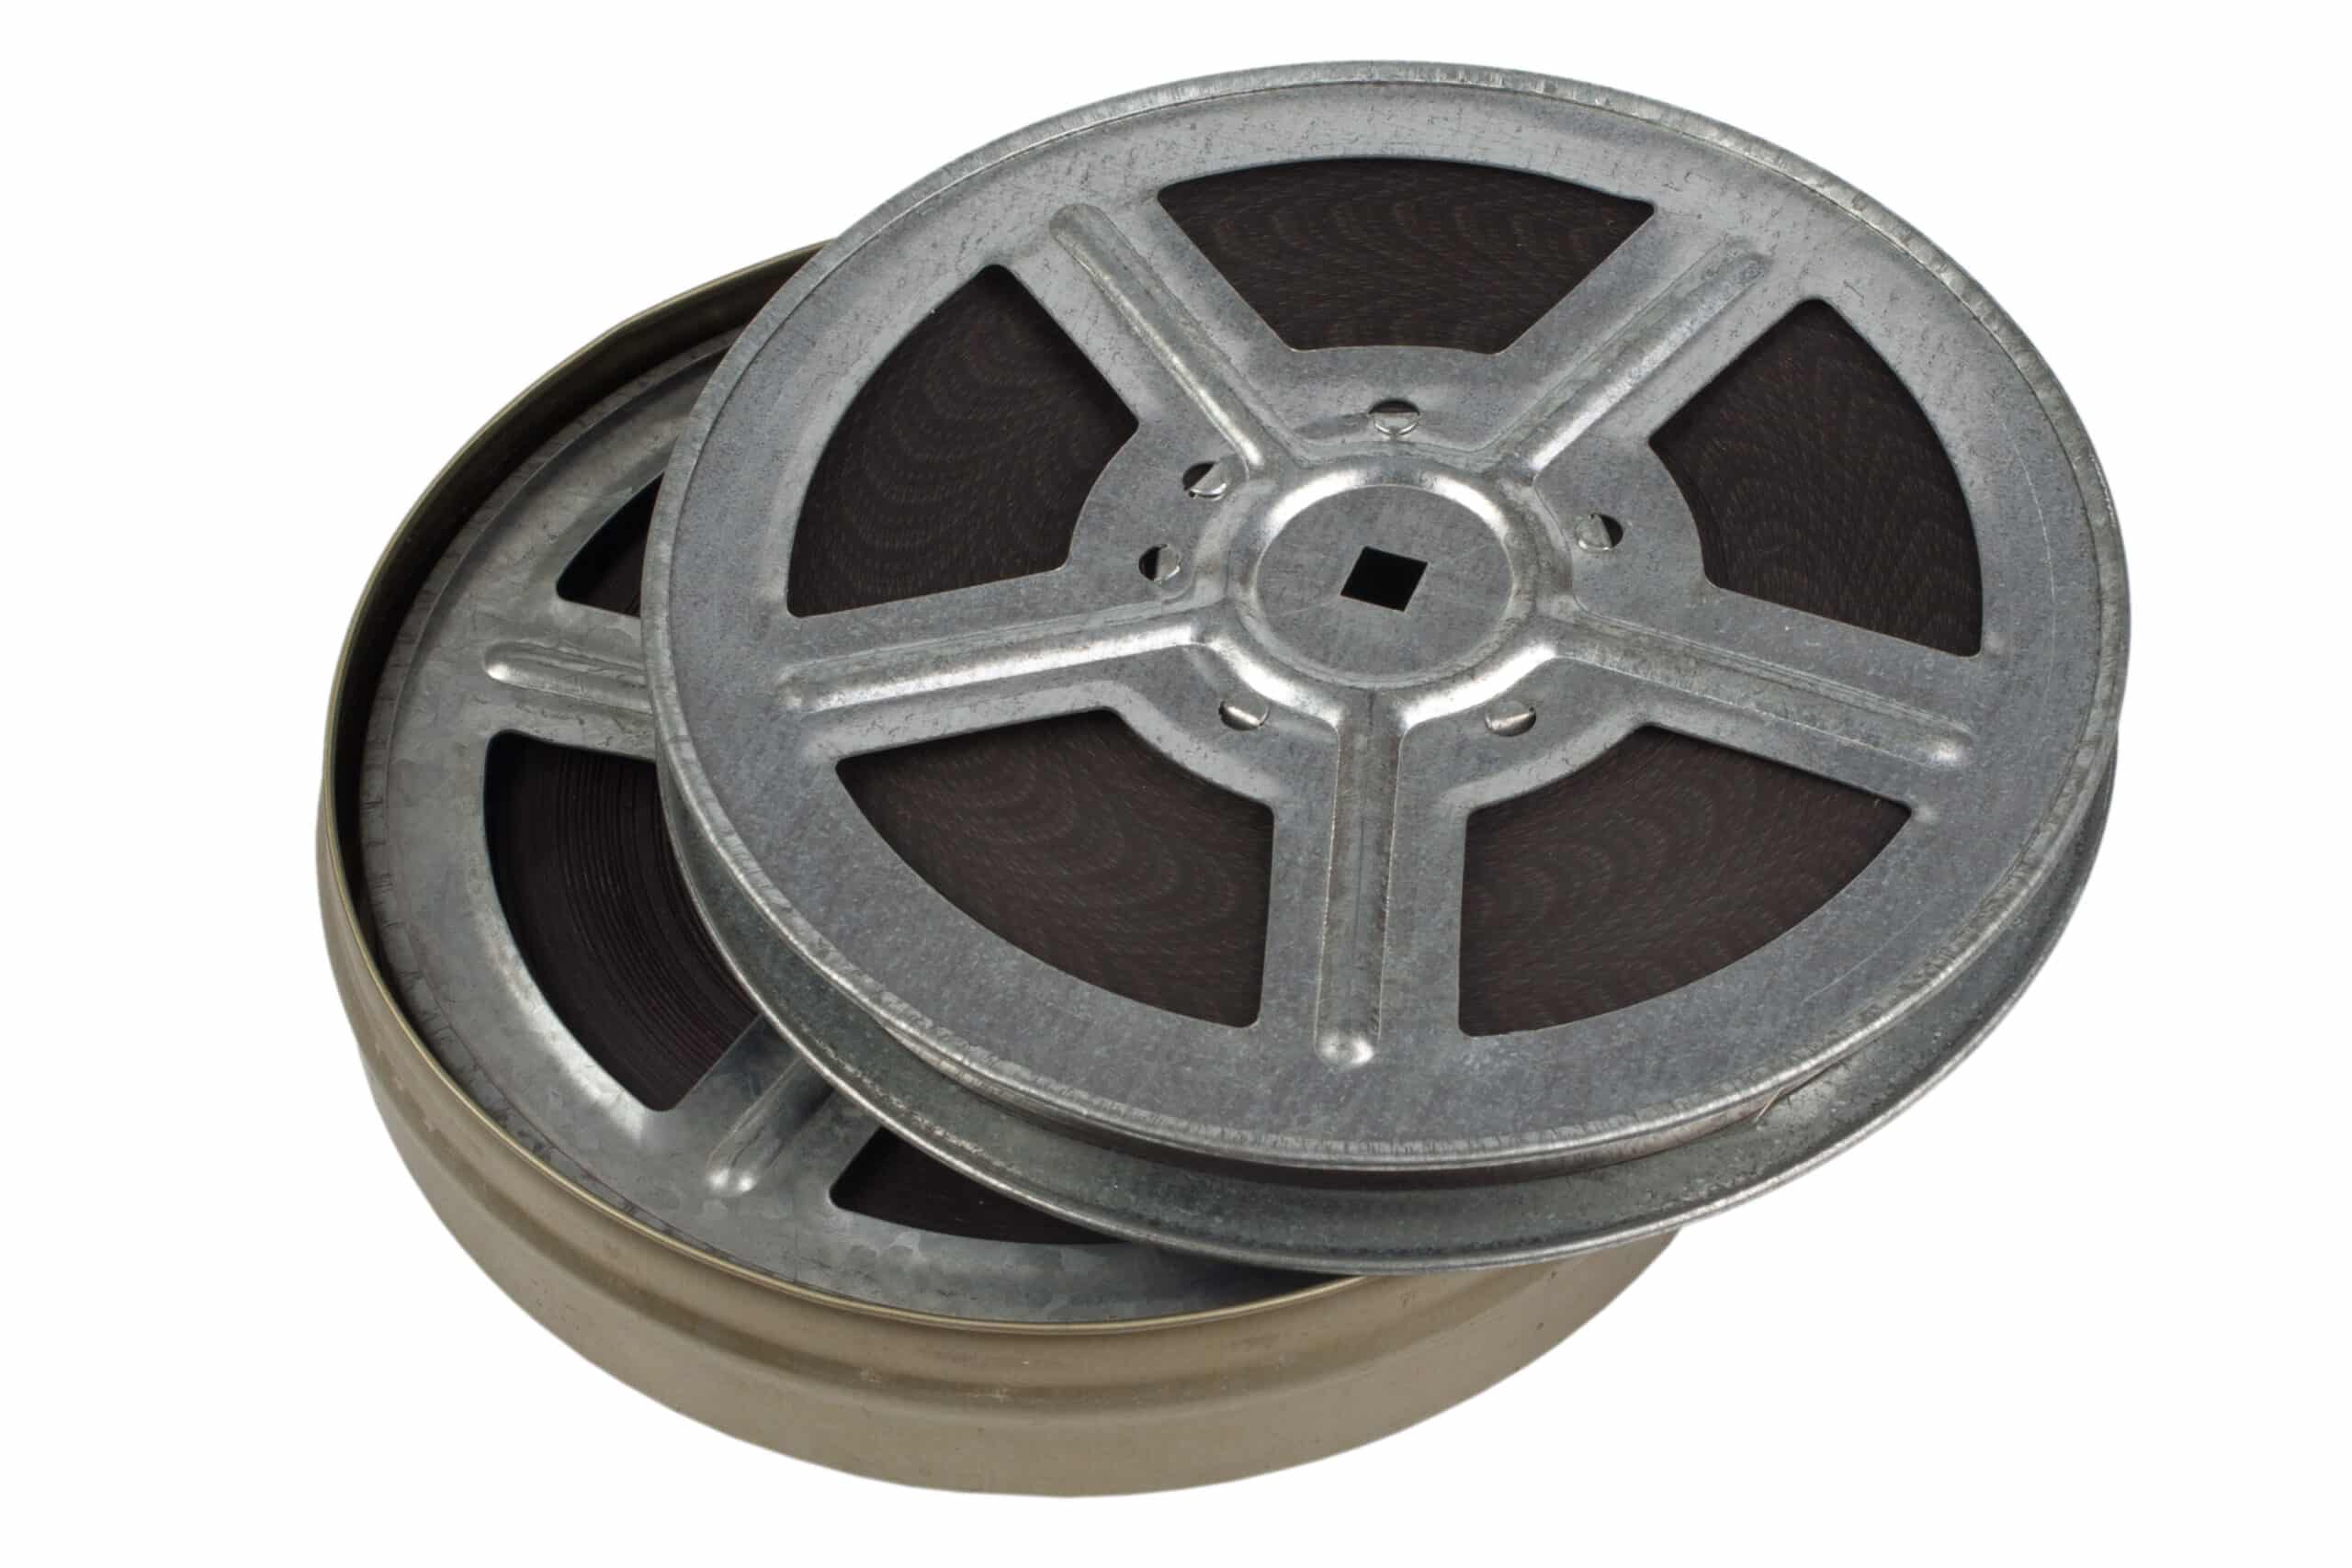
How to DIY transfer Super 8 film to DVD
"How to" DIY film transfer at home“
How to transfer your own Super 8 film to DVD at home.
Doing your own film transfer can be very rewarding providing you have some equipment or are prepared to invest in obtaining the required basic gear.
Please be aware that transferring your own film can be extremely challenging and can pose a considerable burden on your wallet for equipment and software, this is not to take away from the joy of seeing your fantastic home movie memories on your brand spanking new 42 inch plasma home theatre screen.
Some basic essential equipment.
You will require a projector super 8 and standard 8 if you have a mixture of standard and super 8 movies, if you are one of the fortunate ones that have sound with your super eight millimeter camera films you will need to invest in a super 8 sound projector.
Hooking the projector to the computer to capture the sound depends on the projector and your sound card and will need some research on your part and a trip to Tandy to obtain the wire patch leads as these fittings on your projector are unlikely to be common RCA, most likely you will need a DIN 2P or a DIN 5P to RCA adapters are also going to be needed as you will not solve all your connection problems at once, I would suggest a box full of various fittings and adapters to make sure you have adequate fiddly bits to draw on to avoid major frustration.
Your best source of information will be the owner's manual that came with your movie film projector, however. mostly it is fairly straightforward and shouldn't trouble you too much. The common ways to connect a projector to either the camera sou nd input or PC sound card are usually DIN plug/socket and with some good quality film projectors there is also a speaker extension (DIN 2P our) and if you are lucky a 3.5mm phone jack and I have seen a couple with RCA fittings but these are not very common. OK, so the items you must have are a 3.5mm phone jack lead to RCA and RCA to DIN parch. the 3.5mm phono plug goes into the camera or sound card of your PC. Have a fiddle and you will most certainly be thankful you purchased a heap of adapters.
Variable speed Super 8 & 8mm film movie projector
It may seem simple to just purchase a second-hand super 8 projector, since you will not get a new one anymore as none have been made since the late 70's, but wait, most projectors have fixed speeds of 18 and 24 frames per second and the only adjustment is 18 or 24 frames per second, this will cause you serious problems with "flicker" this is because you're video camera shutter will not synchronize with the shutter of the projector, the only way around this is with a projector that features variable speed control, even so there will be mechanical variations so this will not work accurately without fine adjustment. So no matter what you have read elsewhere a variable speed projector that has sound is going to be an essential piece of equipment.
Avid Tech has serviced film projectors for sale
Let me explain.
A PAL system video camera usually has a set shutter speed increment from 1/50. 1/100-1/125./1/250 and so on, some have fixed at 1/50 or 1/100 (1/125).
NTSC has 1/60 and increments. In order to synch with the projector the film speed would of necessity be around 16.6 frames per second depending on if your projector has a lot of shutter blades or a few and also wear and tear means this can never be a true accuracy rule for your video and that's why variable speed projectors will make all the difference, there is a little bit of latitude as you don't have to be precise at 16.6 frames per second as mechanical variations and also differences between projector brands and models that will influence the actual sweet spot for smooth flicker free, you will see this in your video camera viewfinder when the motion is seemingly smooth without flicker or strobe effect.
A variable speed projector will make for a smoother run but you may still suffer variations or strobe because the two items in the film chain namely projector and video camera are mechanical and electronic devices so are subject to line voltage variations from the 50 Hz or 60 Hz depending on which part of the planet you are at, sometimes it is near impossible to remedy this issue, but one possibility is to purchase a transformer 240 volt to 240 volt AU and EU or 110/110 for USA or a stable line filter such as a battery backup for a computer which will filter and stabilise your line voltage and hopefully your problem is gone. Note that in most major capital cities the power supply is quite reliable in most cases.
What kind of movie projector, what make.
There are as many projector brands on the second hand market as there are cameras, choose a good brand, one you can relate to. Among the very best brands of projectors ever made ranking in order of our experience and enjoyment are Chinnon, Eumig, Fuji, some early Hanimex, Eastman and Kodak, just to name a few. There are others of coarse and you can ask questions on Ebay and projector forums about specifics and obtaining instruction booklets.we noticed that the GAF was very popular in America.
If you don't have your own projector already, where can you source one?
EBay, is probably the most appropriate place to look for a second-hand projector, be warned however that many people selling their projectors have not used them for 20 years or more and they may require new belts and servicing, get as much relevant information about the features that you think you will need, don't forget that variable speed is the essential requirement here. Getting belts and service for your projector we recommend:
Projector Heaven in Australia, you can contact the ‘Dogtor’ at projector heaven using this email dogtor@projectorheaven.com.au or just check out his latest stock at his ebay store located here : Projector Heaven Ebay Store They are located on the Gold-Coast in South-East Queensland, Australia.
Projector globes;
Projector globes are fast becoming very expensive and scarce, just look at eBay. Some of the unusual globes such as Atlas and spaceman are selling for around $50 each reflecting their rarity, it is often better to hold out for a projector with a halogen lamp with a diachronic lens-these look similar to the down lights in many kitchens as far as shape is concerned. Costs vary for types of globes depending on their input voltage and output wattage; again costs vary between $12 and about $36 AUD. Again, the best source for projector globes is Projector Heaven
Video camera.
You can use just about any video camera, it doesn't have to be a digital video camera, we have seen reasonable results from very old VHS-C and HI8 video cameras mainly due to a slow 1/50 fixed shutter speed, coupled with a variable speed projector these old cameras make a killer combination for ease of use however, the quality of the finished image will be less than satisfactory and a couple of things you will notice but aren't very great detractors are the scan lines of the video camera which can be rather annoying but viewed on a smaller television set these are barely noticeable. if you have a digital camera so much the better and your results will be quite impressive.
Between film and video camera transfer interface:
You will also require a medium for the projected image to be seen by the video camera; you have a couple of options here. There are some dirt-cheap methods, but mind you the results look very much like it was done with a dirt-cheap method!
You can project onto a white bond paper, use your normal projector screen if you still have one or purchase a transfer box second-hand from EBay, a transfer box is usually made of plastic or metal which has a macro lens, a mirror and a built-in screen. These devices are very simple to use and require no special instructions here it is simply a matter of pointing your video camera at one end of the transfer box and focusing on the projected image on the screen.you will of course have to focus the project first and then set up the video camera, don't use auto focus or auto exposure - set your camera manually at a a slow 1/50 shutter speed, and manually focus. If you use auto focus, the camera cannot maintain focus at such close quarters on moving film, also because the projector is quite close to the camera exposure will be difficult and you will need to experiment a little, if you have a ND neutral density filter this will help greatly in minimising the overexposure on the video camera. This shouldn't surprise you because halogen lamps are extremely bright. The impact of a 250 W halogen lamp less than 2 feet away from your video camera is certainly going to create a massive overexposure. The best way to solve this one is to use a bit of card with small clean hole punched in it to act as a iris in front of the projector lens and this acts to reduce the amount of light dramatically, try it this works.
If you use a white bond paper or your ordinary silver screen you will need to keep your video camera, as close to the projector as possible otherwise your film image will appear skewed in a trapezoid fashion.
Sound pretty simple so far, doesn't it?
Now the fun begins.
Your need to plan on setting aside a lot of time to practice at setting up and controlling flicker, because this is probably the biggest single technical difficulty you may experience. Trial and error is unfortunately the only way, there are no short cuts really. A tip is to start the film projection at the slowest speed of the projector and set the video camera to manual exposure and reduce shutter speed to 1/50 and bring up the film speed very slowly until the flicker subsides into a slow fade in fade out strobe or lighter and darker images, you are almost there, fiddle with the speed control until you have a constant image with out any variation in light. You may also adjust the aperture to assist you with this depending on your camera. if you have a persistent wavering that just won't go for way no matter what you do, there is the possibility that the project is worn, or that you have electrical variations in your supply line, this is extremely difficult to diagnose accurately, you only certain way of proving the electricity supply is to use line filter battery backup system, if strobe effect remains then your projector has a problem, but I doubt that servicing will remedy the situation greatly, even in near new or perfectly serviced equipment the problem can persist. All that said it may be acceptable to you as the best result you could obtain, don't fret too much
some pro transfers are affected by some strobe effect, but flicker is definitely unacceptable and can make you physically ill watching flicker even for a short time.
It is difficult to give precise settings as there are too many feature dependant and feature poor cameras, so please do read the manual, after all it is a how to guide to use your video camera to make your own DVD Transfer from film.
Now that you have got all of that down and squared away, what next?
If you capture to the hard drive then you do not need any more info on that part of the exercise.
If you are using the video cam tape as the capture medium then this will free you from the PC and give you some room to move and worry about doing the next step later.
Stay with me, here comes the fun bits. Making it all happen on DVD.
Getting your video image onto a DVD is no simple matter, it can be quite expensive if you do not have a computer and a DVD-ROM, another option of course is to use a DVD recorder which is similar to a VHS video recorder but records on DVD discs.this couldn't be simpler if you tried, almost every DVD recorder has a digital video input, or RCA jacks and audio input jacks, so connecting your camera to a DVD recorder is a snap! Too easy!
Computer capture
Linking your video camera to the computer on the other hand may present some expensive challenges; you can purchase a high-speed USB analogue adapter to connect your analogue video camera to your computer. Belkin and others make these sorts of products. If you have a digital video camera you have greater flexibility providing your computer has a Fire wire inlet IEEE 1394. If your computer has a spare PCI slot you can purchase a Fire wire adapter board and insert this into your computer, which will give you instant access to your digital video camera. Many DVD recorders also have a Fire wire IEEE 1394 inlet at the front to connect your camera, this will make monitoring of your captured image on your home television a realistic proposition, sort of a trying before you commit to an exercise
File size
One important thing to note before we go on from here.
AVI or DV AVI files are HUGE and can take up 40, yes that’s right 40 Gigabytes of drive space and we are assuming that your hard drive is a 7200 spin as the slower 5000 rpm HDD's will not cut it. Two 6 inch reels of super 8 would equal around 13 gigabytes of video Data on your hard drive at least, so bear this in mind.
Okay, we are set up, we are all fired up, and we are ready to proceed with our digital from analogue transfer, the projector works, the video camera works, and the computer works, we missing something? Yes, we need a capture program on a computer that will collect the signals from our video camera, if you purchase a USB analogue capture device a software package such as video studio DVD Creator will be included. If not you will need to get hold of some capture software, what you get and the recommendations that are made to you will depend entirely on the level of results that you want. Keeping it simple and cost-effective for you to do a home transfer means using whatever software you can obtain and there are many that are shareware or allow you to try the program to 30 days free. You can possibly play around with a number of software packages, there are so many out there at entry-level, too many to list here.don't forget that if you use Windows XP, it comes with movie maker which is quite simple to use but only reasonably effective as a capture agent and very basic editor.
Software
If you are looking to serious software you will need to go Adobe Premiere and/or Canopus Eduis but of course we are getting beyond ourselves these are professional heavyweight programs which require very powerful computers and peripheral equipment in assisting capture and processing of your video signals.
The learning curve will probably be beyond the beginner, but highly suitable for serious hobbyists.
Editing
Use your NLE software to edit and control the playing speed of the captured films
If you need to change the play speed of the film you should use the duration or speed settings in the time line of your NLE. Most entry-level software won't let you do this so the running speed will be approx 16 frames per second, which is marginally slower than the standard silent film exposure rate of 18 fps. If the film was shot at 24 fps you can shorten the duration of the clip to speed it up a tad, but be prepared to experiment and only do a change if you can't live with the results. You can use a Canopus utility to change the speed of a clip in AVI format.
Once you have the video file finished from your capture session you will need to convert your files to MPEG2 for DVD Authoring and again the choice is yours from simple and just point and click to professional products, many of the entry level software packages do the conversion for you automatically but take many hours to process on a home PC this is due to high cpu activity and HDD access will be heavy. Use the help files with your software. Some really good easy to use packages are quite cheap as well and these include Ahead Nero and Arcsoft, Ulead make very easy to use software but the quality is not up the mark compared with other low cost packages and no comparison to professional software packages.
I recommend you start to make your DVD before you go to bed and it should be burned by the morning, believe us, video to DVD creation is not for the impatient, it takes up to 8 hours or more if you have a slow computer with less than 2.4 GHz CPU and less than 512 mb of RAM, upping the cpu to 3.0 ghz and 2gig of RAM will speed things along nicely. Don't forget the menu and scene selection or chapter points, again use the help files if it is not immediately apparent how to achieve chapters quickly, it should only take a minute to create chapters.
Results will vary widely depending on how close to the object screen you have the projector and the wattage of the projector lamp will influence how bright or how much contrast your finish up with
Many DIY attempts fail as flicker is difficult to control and most can not eliminate this distressing annoyance altogether and you may have to be satisfied with some strobe effect.
So that's pretty much it in a nutshell, if you found this to be confusing and bewildering you are in good company, many people attempt to transfer their own home movies and some succeed and most don't. But of course if you need a professional telecine transfer job done with a beautiful DVD that is calibrated, has a beautiful menu and scene selection system you might just want to have a DVD transfer via a professional with all the right gear and know how to give you an excellent frame by frame capture job such as Avid Tech DVD Transfers at www.avidtech.com.au
How Avid Tech do a frame by frame super 8 telecine transfer
We use state of the art custom engineered in the USA equipment that costs many thousands of dollars. There is no projector and each frame is individually captured onto a corresponding video frame unlike projection methods which have parts of frames on a video field which creates blur and a loss of sharpness due to a lack of frame discrimination. single frame by frame capture that provides clear and sharp images can only be done with frame by frame telecine. frame rate accuracy at 15/16. 18 and 24 fps is frame accurate. No projector lamp or halogen hot spots are used or created with our ultimate film transfer method. Capture is at a full broadcast 720 x 576 PAL lines. Sharp, natural colours and even light source provide the most natural looking skin tones.
This article is available for use on your web page as long as the link and credits remains intact.
About the author: Jonathon Perino owns and operates Avid Tech Multimedia Studio and Avid Tech DVD in Wonthaggi Victoria Australia.
Avid Tech. Victoria’s first choice for frame by frame film transfer to DVD.
How to DIY transfer Super 8 film to DVD
|